
Universal Print (Windows)
1. Install a Printer
- Open Settings or press Win + I
- Select Bluetooth & Devices
- Select Printers and Scanners
- Select Add Device
- Select Search for Devices
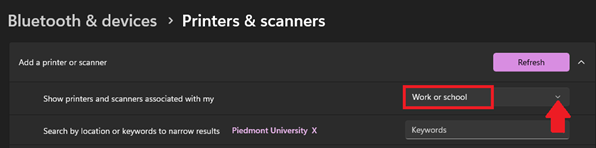
- Select Work or School, located next to 'Show Printer and scanners associated with my'
- If you do not see Work or School, please see the troubleshooting section.
- You may be prompted to login using your Piedmont email.
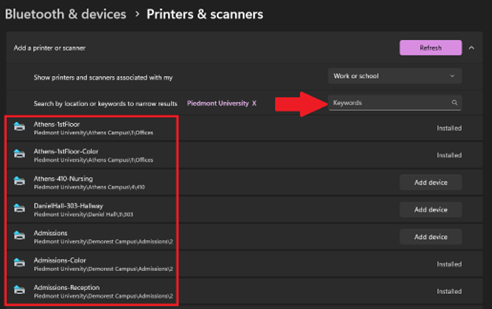
- Select a printer from the list or use the search box to search for a printer
- It is recommended to search for printers by using the room number
- It is recommended to search for printers by using the room number
- Once you've located the printer you wish to use, select Add Device
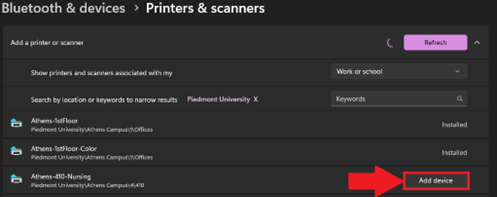
- Your computer will take a moment to install the printer.


2. Printing Documents
- Use CTRL + P to print
- Toggle the drop-down next to Destination
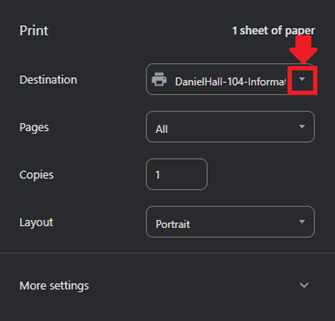
- Select the printer that you added in the previous section.
- If you do not see your printer, you may need to select See More from the drop-down menu
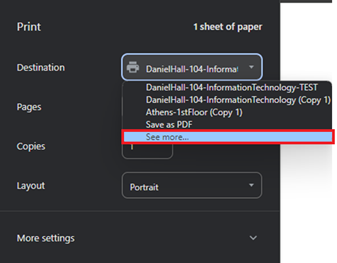
- If you do not see your printer, you may need to select See More from the drop-down menu
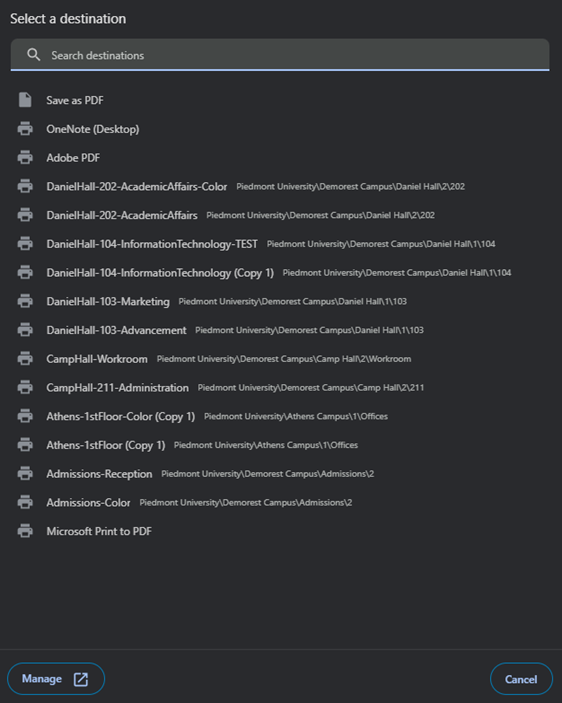
- A new page will open containing a full list of printers.
- If you do not see your printer, please submit a helpdesk ticket.

- If you do not see your printer, please submit a helpdesk ticket.
- Once you've selected your printer, select Print to send the document to the printer.


3. Troubleshooting
- Missing Work or School option
- Open Windows Settings
- Select Accounts
- Select Access Work or School
- Remove any account that does not contain Piedmont.intr
- If you are having issues printing, try removing and re-adding the printer.
- Open Settings or press Win + I
- Select Bluetooth & Devices
- Select Printers and Scanners
- Select the printer that you are attempting to print from.
- Click "Remove."
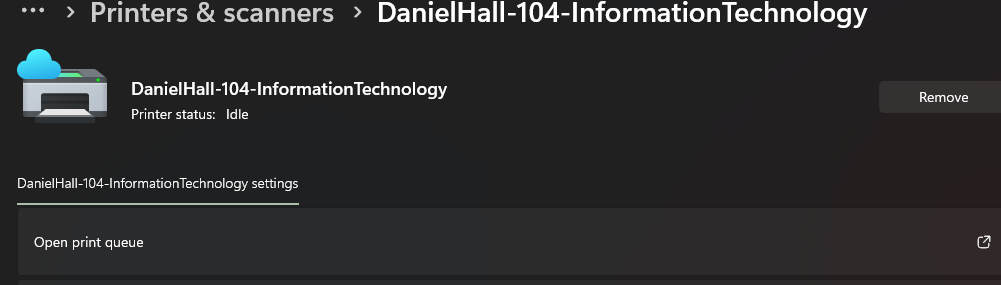
- To reinstall the printer, follow the instructions above in section "I. Install a printer."
- For all other issues please submit a helpdesk ticket

No comments to display
No comments to display